![]()
Webflow is a no-code website builder that allows you to build custom professional websites. It is easy to customize a map with SimpleMaps and easily add it to your Webflow website.
First, choose the map you want to install
Customize your map using our online customization tool.
Host your map files on SimpleMaps.com (detailed instructions). Note: You could also self-host the map files by uploading the mapdata.js and worldmap.js files to your server over FTP. However, it is simpler to use our hosting.
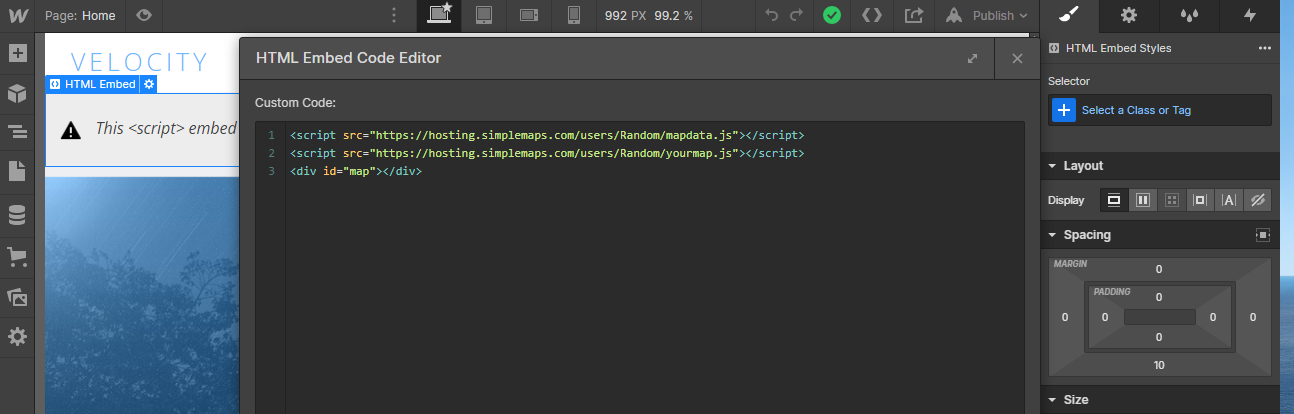
Copy the embedding code from the online customization tool. It should look something like this:
<script src="https://hosting.simplemaps.com/users/RANDOM_ID/mapdata.js"></script>
<script src="https://hosting.simplemaps.com/users/RANDOM_ID/worldmap.js"></script>
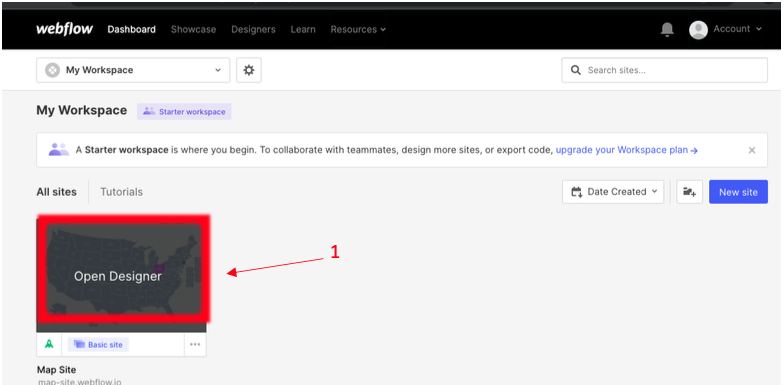
<div id="map"></div>Go to your Webflow Workspace and click “Open Designer”.
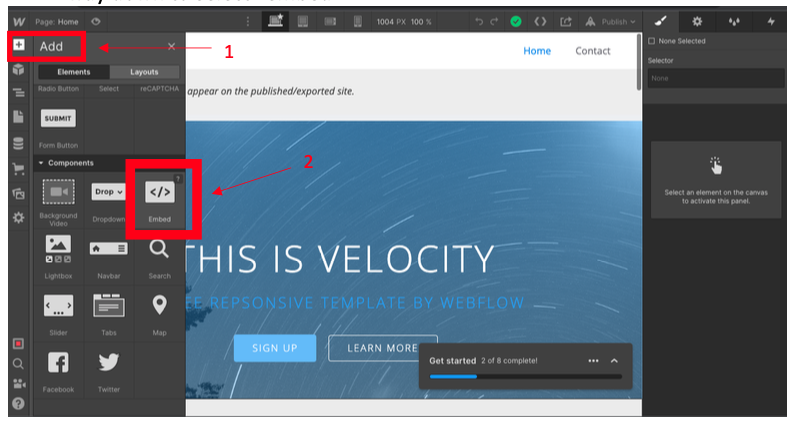
On the top left corner, click the “+” sign to add an element and go all the way down until you see the “Embed” option.
Paste the embedded code you copied from Step 6 and click “Save & Close”.
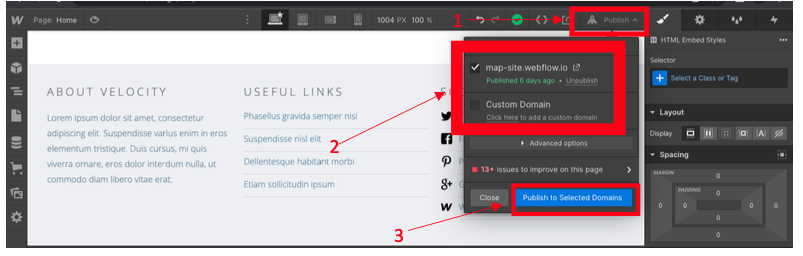
Lastly, click “Publish” and select the domain you want to use. To finish publishing the website, hit the “Publish to selected domains” button.
Visit your website to see if the changes were applied.
If you have trouble, or need help, please contact us.
Home | License | Privacy | Releases | Testimonials | Resources | Documentation | Order Lookup | All Maps | FAQs
Formerly FlashUSAmap.com and FlashWorldMap.com
SimpleMaps.com is a product of Pareto Software, LLC. © 2010-2024.