This short tutorial will teach you how to import data from a .csv file into a MySQL database using just the Linux command line. We were motivated to write this guide to help our World Cities Database customers, but it will help anyone looking to import a .csv file.
Note: We provide .sql files for all of our databases, but importing via .csv is much faster when you're dealing with ~4 million rows.
Before we get started, tell us about your MySQL setup and we'll customize the example code accordingly:
Then, follow these steps:
.csvIf you've purchased our World Cities Database, we'll be using the worldcities.csv file. If not, you can use this example file that has the same structure, but only contains cities in France. Or, you can use a .csv of your own.
If you don't already have one, create a database in MySQL:
mysql -e "CREATE DATABASE {{ dbname }};" -u {{ username }} -p
Note: You'll be prompted for your MySQL username.
Note: All code snippets can be copied and pasted into the console in whole.
Create a table with appropriate fields and data types. Below is what this looks like for our World Cities Database. This will differ based on the structure of your data (cheatsheet):
mysql -e "use {{ dbname }}; DROP TABLE IF EXISTS {{ csvname }}; CREATE TABLE {{ csvname }} {{ schema }} CHARACTER SET=utf8mb4;" -u root -p
Note: You'll be prompted for your MySQL password.
We've chosen a character set of utf8mb4. This is important because in MySQL utf8 uses a maximum of three bytes and cannot store four-byte unicode characters. Characters will be lost if you use utf8. Learn more.
.csvCreate a new version of your .csv file without fieldnames (only data rows), replace all empty stringss with \N (to denote NULL) and move it into a directory that mysql has the privileges to open.
tail -n +2 {{ csvname }}.csv >| {{ csvname }}_noheader.csv && \
sed -i -e 's/""/"\\N"/g' {{ csvname }}_noheader.csv   && \
sudo mv -f {{ csvname }}_noheader.csv /var/lib/mysql-files/{{ csvname }}.csvmysqlimportImport your .csv using mysqlimport (docs):
mysqlimport --fields-optionally-enclosed-by='"' --fields-terminated-by=',' --lines-terminated-by='\r\n' --user={{ username }} -p {{ dbname }} /var/lib/mysql-files/{{ csvname }}.csvNote: You'll be prompted for your MySQL password.
We've told mysqlimport that some fields will be enclosed with parentheses and fields are delimited with commas.
Note: The name of the MySQL table that is created is derived from the name of the .csv file.
That's all! Just test to make sure it worked:
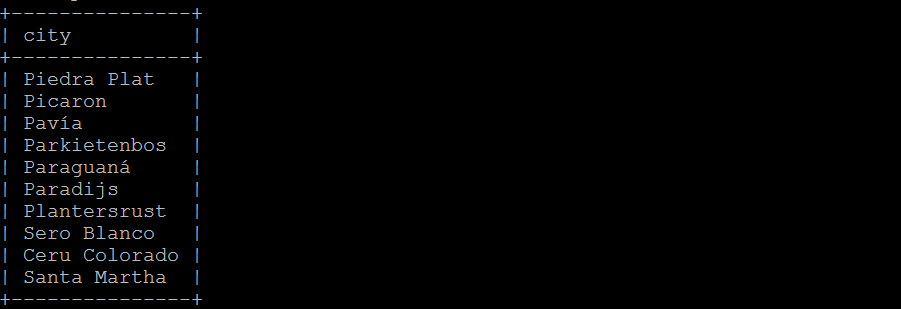
mysql -e "use {{ dbname }}; SELECT city FROM {{ csvname }} LIMIT 10;" -u {{ username }} -pNote: You'll be prompted for your MySQL password.
If everything worked, you should see ten rows from your database:
Home (Maps) | Database License | Privacy | Database Releases | Database Order Lookup | Resources | Contact | FAQs
SimpleMaps.com is a product of Pareto Software, LLC. © 2010-2024.